| HideElements | ||||||||||||||||||||||||||||||||||
|---|---|---|---|---|---|---|---|---|---|---|---|---|---|---|---|---|---|---|---|---|---|---|---|---|---|---|---|---|---|---|---|---|---|---|
|
| Background Color | ||||||||||||
|---|---|---|---|---|---|---|---|---|---|---|---|---|
| ||||||||||||
|
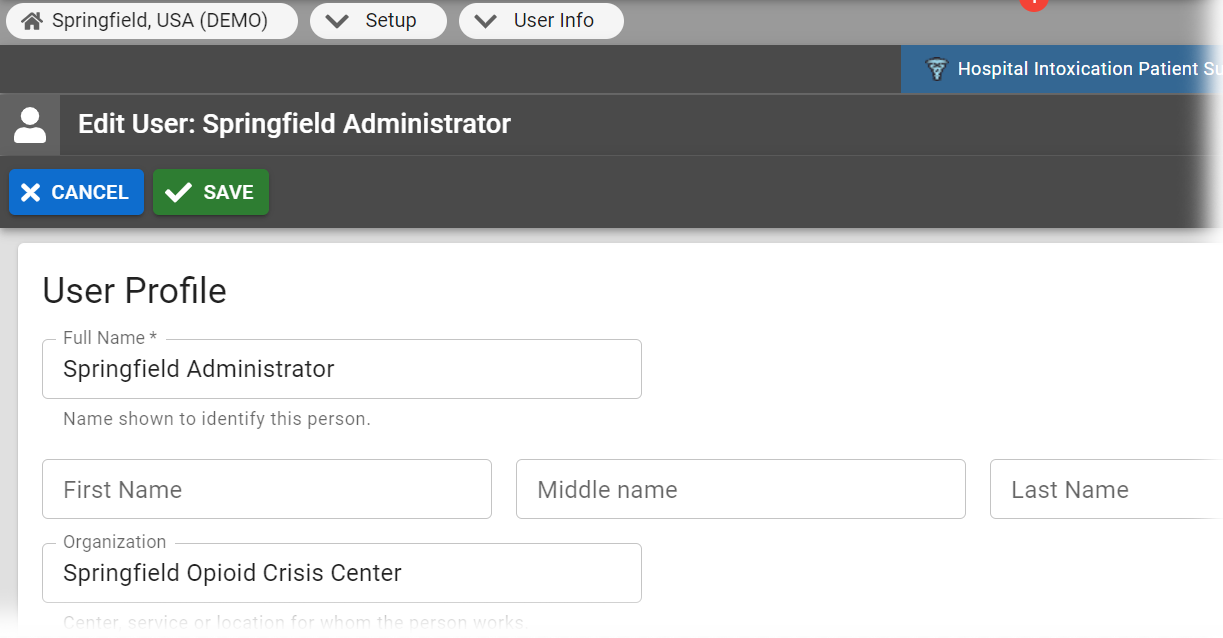
You can update your user
...

...
info in EMResource through the Preferences menu or through your badge (located on the upper right of the solution bar). We recommend that you review and update this information regularly to make sure you receive important notifications.
To update your information
...
- In the main menu, click Preferences and then select User Info.
...
- The Update User
...
- Info page opens.
...
Enter or change your personal and contact information.
Tips:
- To ensure you receive the notifications you expect, make certain your phone, email, and text pager are correct. EMResource validates that email and text pager addresses are formatted correctly, but cannot check whether they are functional.
- To receive EMResource notifications as text messages on your mobile device, go to the article Receive Notifications as Text Messages.
If appropriate, select or change your Default View.
Select your view and notification options:
...
Option
...
Description
...
High Contrast View
Take any of these actions.
If you want to…
Then…
Update your personal information,
In the User Profile section, enter the requested information.
Use colors that may make the solution easier to view in certain
...
lighting conditions (such as outside or on a large, wall-mounted monitor)
...
,
In the User Profile section, select the High Contrast View checkbox.
Add a contact method,
- In the Contact Information section, click + Contact Method. A window opens.
- Click Email, Text, or Pager.
- Enter the corresponding address or number.
- Click Save. Your information appears in the list.
Edit or delete a contact method,
- In the Contact Information section, locate the information you want to update.
- On that row, click the information to edit or click Remove to delete it.
Turn certain notification methods on or off,
In the Notifications Preferences section, locate the notification method and, on that row, select or clear the Receive Notifications checkbox.
Include updated statuses for all resources of the same resource type in your notifications,
In the Notifications Preferences section, locate the notification method and, on that row, select or clear the Include Resource Summary checkbox.
Note:
...
Opt Out of User Info Reminders
...
The Regional Administrator can specify the frequency of User Info reminders, which remind users to update their profile information:
Never
Monthly
Quarterly
Yearly
Select this check box to indicate you do not want to receive these reminders.
In the Notifications Overview section, indicate your notification type selections:

...
Column(s)
...
Description
...
Type
...
Specify the notification types: E-mail, Text Pager, and Web Page.
...
All Notifications
...
Indicate whether you want to receive all of these types of notifications (On or Off).
...
Include Resource Summary
Select this check box if you want notifications to include updated statuses for all resources that fall into this same resource type.
If you want to receive status change notifications only for
...
certain resources
...
, clear this
...
checkbox and go to the procedure Update Status Change Notification Preferences.
...
Timing
Select At All Times to receive all notifications for all resources in the resource type
-or-
...
Receive notifications at any time or only a specific time range,
In the Notifications Preferences section, locate the notification method and, on that row, select or clear the Exclude Time Range checkbox.
Note: If you click Exclude Time Range, you must enter the exclusion period in the From and To columns using the 24-hour format.
Identify your default landing page,
In the Home section, click the name of the view you want to open when you access EMResource.
- Click Save.