| HideElements | ||||||||||||||||||||||||||||||||||
|---|---|---|---|---|---|---|---|---|---|---|---|---|---|---|---|---|---|---|---|---|---|---|---|---|---|---|---|---|---|---|---|---|---|---|
|
| Background Color | ||||||||||||
|---|---|---|---|---|---|---|---|---|---|---|---|---|
| ||||||||||||
|
With the appropriate permissions, you can add labels to any of the available markers in MapTac.
Note: Users with read-only permissions cannot add labels to a map/image.
To add a label to a marker
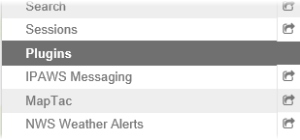
In the Plugins section of the control panel menu, click MapTac.
From MapTac, on the left side panel, click the Labels tab. The label palette opens.
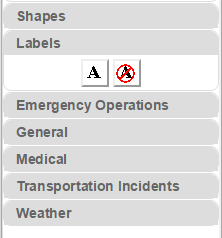
Click the label button.

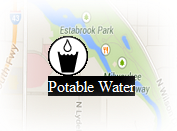
Click the marker to be labeled. The label text prompt opens.
Enter the text for the label and click OK. The label appears under the marker.
To clear a label on a marker
In the Plugins section of the control panel menu, click MapTac.
From MapTac, on the left side panel, click the Labels tab. The label palette opens.

Click the clear label button.

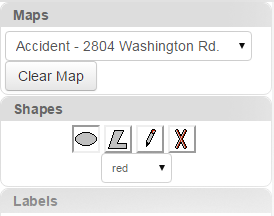
Click the marker associated with the label you want to remove. Alternatively, to clear all shapes, markers, and labels from a map/image, click the Clear Map button.
| Panel | ||||||||
|---|---|---|---|---|---|---|---|---|
| ||||||||