| HideElements | ||||||||||||||||||||||||||||||||||
|---|---|---|---|---|---|---|---|---|---|---|---|---|---|---|---|---|---|---|---|---|---|---|---|---|---|---|---|---|---|---|---|---|---|---|
|
| Background Color | ||||||||||||
|---|---|---|---|---|---|---|---|---|---|---|---|---|
| ||||||||||||
|
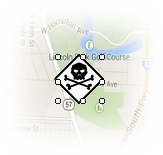
MapTac gives you the freedom to place, move, resize, and delete markers as incidents evolve and maps change.
Note: If you have read-only permission to a map/image, you cannot add markers to an image.
Place a Marker
To place a marker on a map or image
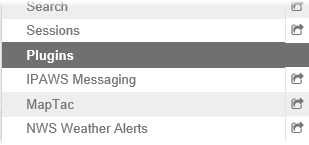
In the Plugins section of the control panel menu, click MapTac.
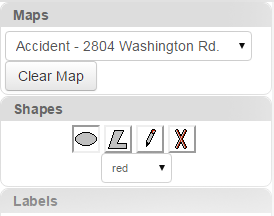
From MapTac, on the left side panel, click the Maps tab.
Click the Maps drop-down list and select the appropriate map or image.
Click the desired marker tab. The tab opens to show all available icons.
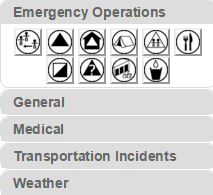
Click the marker icon you want to place on the image.
Tip: To see what the marker represents, hover over the icon. A pop-up tooltip reveals the marker title.Move your cursor to the desired location on the image and click once. The marker appears on the map/image.
Note: You cannot drag and drop markers to place them on the image.
Move Markers
When you want to move a marker, click the marker and hold down the left mouse button. Drag the marker to the new destination and then release the mouse button.
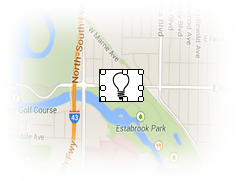
Resize a Marker
To resize a marker, hover over the marker until handles appear. Click and drag a handle until the marker is the desired size.
Delete a Marker
To delete a marker, right-click the marker. When the confirmation window opens, click OK.
Alternatively, to clear all shapes, markers, and labels from a map/image, click the Clear Map button.

| Panel | ||||||||
|---|---|---|---|---|---|---|---|---|
| ||||||||