| HideElements | ||||||||||||||||||||||||||||||||||
|---|---|---|---|---|---|---|---|---|---|---|---|---|---|---|---|---|---|---|---|---|---|---|---|---|---|---|---|---|---|---|---|---|---|---|
|
| Background Color | ||||||||||||
|---|---|---|---|---|---|---|---|---|---|---|---|---|
| ||||||||||||
|
After checking out, editing and saving a document, you want to check it in to indicate that your edits are complete and the document is ready for use by others. The check in process is slightly different depending on whether the document was opened and edited using the Microsoft® Office® process outlined in the procedure Check Out and Edit a File.
Note: The check out/check in process for Microsoft Office documents may vary slightly if you have more than one document checked out at the same time. For instance, you may be required to save the document to your computer and check it in from there.
To check in a Microsoft Office document
From the Home page, point to Planning and click Library. The Library page opens.
If necessary, in the Library for list, select your domain or facility.
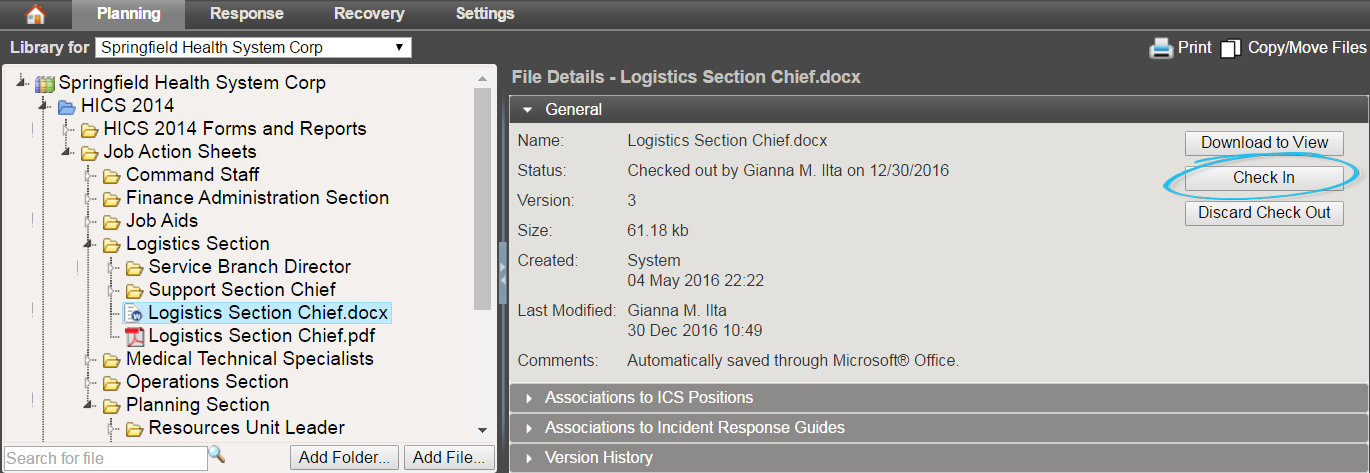
On the left, locate and click the file you checked out and edited.
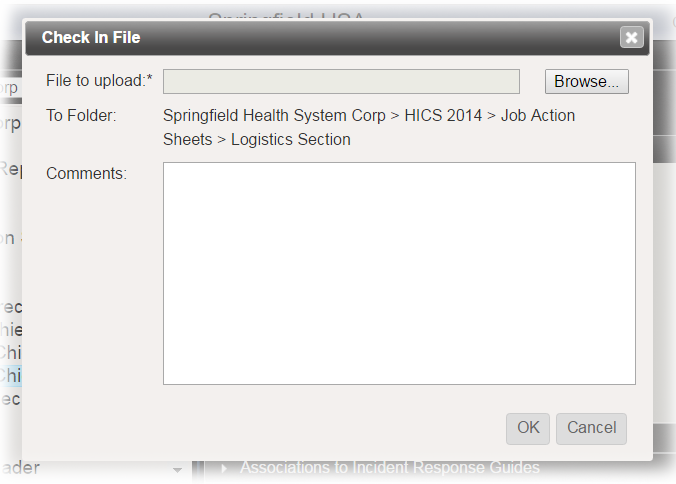
On the right, in the General drawer, click Check In. The Check In File window opens.

Take one of these actions.
If you want to check in... Then... A document you just finished editing with a Microsoft Office application, Click Check In Last Saved Version, A different version of the document or a document saved on your computer, - Click Check In Different Document,
- To the right of the File to upload field, click Browse. Your browser's file navigation window opens.
- Navigate to locate and select the file you want to upload.
- Click Open.
For Comments, enter notes or details about your edits.
Click OK. The document is checked in and your edited version is available to other users.
To check in other types of documents
From the Home page, point to Planning and click Library. The Library page opens.
If necessary, in the Library for list, select your domain or facility.
On the left, locate and click the file you checked out and edited.
On the right, in the General drawer, click Check In. The Check In File window opens.
To the right of the File to upload field, click Browse. Your browser's file navigation window opens.
Navigate to locate and select the file you want to upload.
Click Open.
For Comments, enter notes or details about your edits.
Click OK. The document is checked in and your edited version is available to other users.
| Panel | ||||||||
|---|---|---|---|---|---|---|---|---|
| ||||||||