| HideElements | ||||||||||||||||||||||||||||||||||
|---|---|---|---|---|---|---|---|---|---|---|---|---|---|---|---|---|---|---|---|---|---|---|---|---|---|---|---|---|---|---|---|---|---|---|
|
| Background Color | ||||||||||||
|---|---|---|---|---|---|---|---|---|---|---|---|---|
| ||||||||||||
|
While responding to an incident, use the eICS escalation feature to accommodate an additional event or situation. Escalating the incident involves specifying another incident response guide (IRG), and choosing the ICS positions, objectives, files, locations, and notifications related to the second IRG that you want to activate.
To escalate an incident
On the Home page, locate the incident and on that row, click View. The Incident Dashboard opens.
If the User Status window opens, enter your availability and close the window.
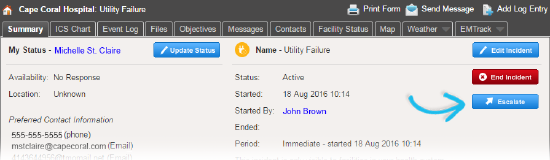
On the Summary tab, click Escalate. The Escalation window opens with the Details tab active.
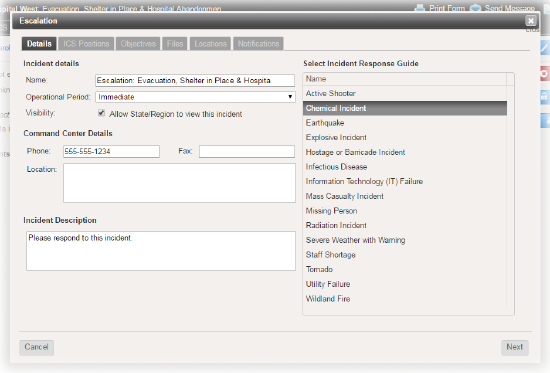
Add or edit incident details as needed, and select a secondary IRG.
Click Next. The ICS Positions tab opens.
For this and all subsequent tabs (ICS Positions, Objectives, Files, Locations, and Notifications) select or clear the check boxes to identify items you want to include with the escalation.
Tip: On the Notifications tab, verify that the Voice and/or Email check boxes are selected to notify incident participants and candidates about the escalation.Click Finish. The window closes.
| Panel | ||||||||
|---|---|---|---|---|---|---|---|---|
| ||||||||