The Plan Files area shows all files associated with the selected plan, including each file's name and the incident response guides and/or positions with which it is associated. If you view a file from this area, it will be in read-only format.
Tip: You can also access files from the ICS Chart and Incident Response Guide areas of the Summary and the Library.
To add a file to the plan, you must associate it with a position or an IRG. To remove a file from the plan, you must remove its association with all positions and IRGs.
To change IRGs associated with a file
-
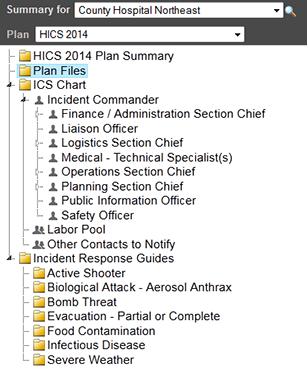
Point to Planning and click Plan Summary. The Summary for (facility/domain) page opens.
-
Select the appropriate domain or facility from the Summary for drop-down list.
-
If appropriate, select a different plan.
-
Select Plan Files. The right area shows all files for this plan.
-
Select the file in the table.
-
On the right, click Change IRGs. The Select File Response Guides window opens.
-
Select the guides you want to associate and clear check boxes to remove that association.
-
Click OK. The window closes.
To change ICS positions associated with a file
-
Point to Planning and click Plan Summary. The Summary for (facility/domain) page opens.
-
Select the appropriate domain or facility from the Summary for drop-down list.
-
If appropriate, select a different plan.
-
Select Plan Files. The right area shows all files for this plan.
-
Select the file in the table.
-
On the left, click Change Positions. The Select File Positions window opens.
-
Select the positions you want to associate and clear check boxes to remove that association.
-
Select Labor Pool and Other Contacts to Notify, as appropriate.
-
Click OK. The window closes.
Tip: To associate all positions, click Select All. To remove all associations, click Deselect All.