![]()
When a board is enabled with Maps, you can add a map feature to records for those boards. Since administrators control the boards you can access and which boards are Maps-enabled, the way in which you add a map feature to a board record may vary. Additionally, custom boards may require you to consult your WebEOC administrator for specific details on how to associate a board record with a specific map feature. The general process for associating a board record with a map location is outlined below.
To add a map feature to a board record
Open the control panel menu and, from the Boards section, click the applicable Maps-enabled board.
On the board's landing page, click the Create button.
In the create window that opens, locate and click the Map button or link.
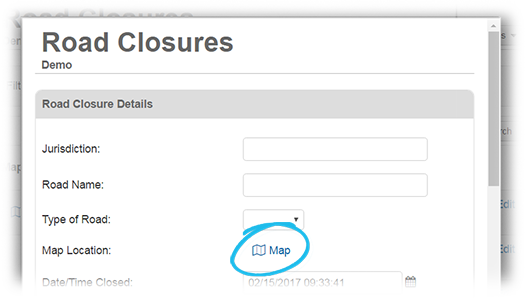
Tip: If the Map button or link appears next to an Address field, such as in the Shelter board, you can optionally enter the address of the location to be mapped. After entering the address, click the Map button or link. In the mapping window that opens, you are immediately taken to the location you identified, and a point for this location is already added to the map.
Additionally, if you select Map using the locate attribute, your current location is automatically found.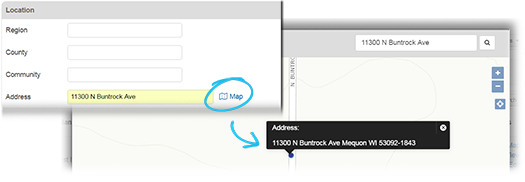
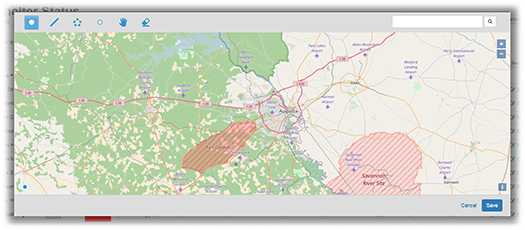
In the mapping window that opens, use the icons in the upper left corner to set the feature type of the map feature you want associated with this particular board record.
If you want to... Then... To add a data point
Select the point icon.

Click on the applicable area on the map and the point will appear.
To add a line string to the map
Select the line string icon.

Click a point on the map. Continue clicking different points on the map to create a custom line.
When you have created the desired line, double-click your final point. A line is created on the map.

To draw a custom shape and area
Select the polygon icon.

Click a point on the map. Continue clicking different points on the map to create a custom polygon.
When you have created the desired polygon, double-click your final point or single-click your starting point. A shape is created on the map.

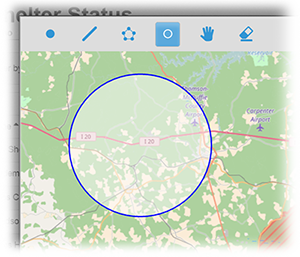
To draw a circle
Select the circle icon.

Click a point on the map.
Drag your cursor to create the appropriate radius for the circle.
When you have created the desired circle size, click once. A circle is created on the map.
If needed, to clear the map, click the eraser icon.
To stop drawing on the map, click the blue hand icon.
Click Save. The mapping window closes and a green check mark appears to the right of the Map link on the board view.
From the board view, click Save.
The record is saved and appears on the board. A Map link or button is associated with the entry and, when clicked, takes you directly to the location on the map you just identified.
![]()
See also Open a Map from a Board for more information on opening maps associated with individual board entries.