Use the Contacts plugin to enter and maintain contact details for external recipients.
Note: Internal contacts are updated in the Admin area.
To add a new contact
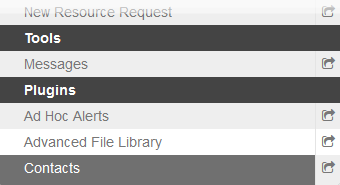
- In the PlugIns section of the control panel menu, click Contacts.
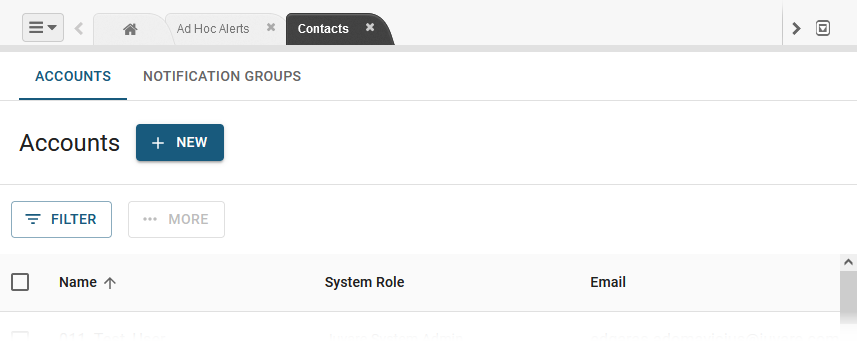
- Click the Accounts tab.
- On the Accounts page, click + New.
On the Basic Information page, complete the fields, and then click Next.
Field
Description
Valid Values or Example
Email
Email address
First Name
Given name
John
Last Name
Family name
Smith
System Role
Access to features and functions.
- Regular User
- Client Admin
Status
The contact’s status.
- Active
- Inactive
- Closed
- Deleted
- On the Personal Information page, enter the contact’s address, and then click Next.
- As you enter information, the system provides possible address combinations.
On the Contact Information page, complete the fields, and then click Submit. The contact is added to the Accounts page and the accounts panel displays a summary of the details.
Field
Description
Valid Values or Example
Login Email
Email address from the Basic Information page.
Note: This field is automatically completed and cannot be modified on this page.
N/A
Additional Contact Emails
Alternate email address. Click + Add Email to add email addresses.
Contact Phone Numbers
Phone number for the contact.
- Must be a valid phone number.
- Click + Add Phone Number to add phone numbers.
- Select the type of communication that can be sent using each number.
- (949) 699 2300
- 978-977-2345
- +1 (408) 325-2200
- +44 1865 380990
Emergency Contact Name
First name and last name.
Mary Smith
Emergency Contact Relationship
Relationship to the contact.
- Spouse
- Co-worker
- Relative
- Friend
- Other
- Click Submit. The contact is added to the Accounts page.