![]()
Authorized administrators can create new roles by defining the set of rights for this type of user.
Setting up a role also includes selecting the status types to which the role's users have access (view or view and update). After you save the new role, you can assign users to it.
Note:
If you assign the Update Right, the check box for View Right is automatically selected. Likewise, if you clear the View Right checkbox, the Update Right checkbox is also cleared.
You will also want to specify a region default role; you can make an existing role the default or create a new role for that purpose.
If a status type is set up to be visible to users in other regions, it is automatically visible to all roles and you cannot change this setting.
To create a role
In the main menu, click Setup and then click Roles. The Roles List opens.
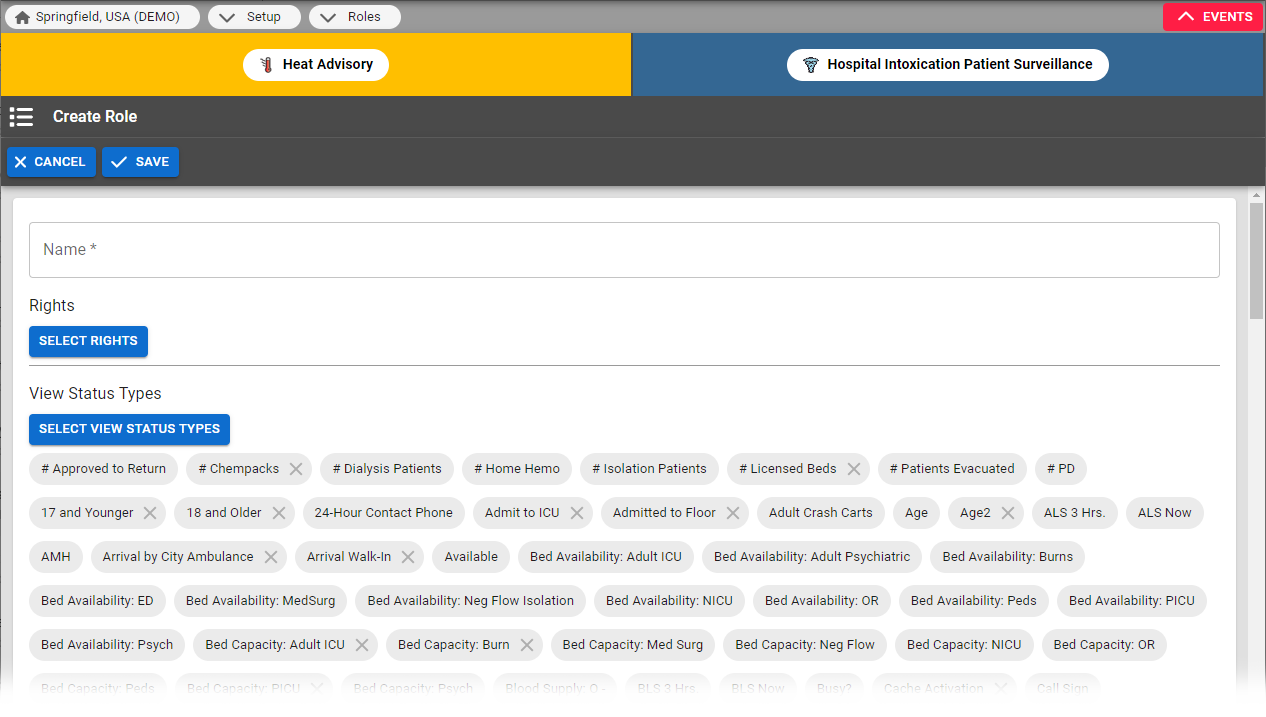
Click Create Role. The Create Role page opens.
For Name, enter the role's name.
Select the rights to assign to this role (Select the Rights for this Role section).
In the View Status Type and Update Status Types sections, select the appropriate status types this role can view and/or update:
View Right - Role can view this status type
Update Right - Role can update this status type
Neither selected - Role cannot view or update this status type
Click Save.