![]()
Objective templates consist of one or more fields that, once added to an objective, allow you to indicate requirements, solicit feedback, and measure performance by incident participants when they update the objective status.
Domain and Facility Administrators create templates by adding fields that represent a question or requirement and selecting the corresponding response format, such as including Short text, Long text, Drop-down, Checkbox, and Checkbox group. On objectives to which a template has been applied, the template fields appear on the Details drawer, along with the standard objective information. Template fields can be accessed to add or update information on the objective when participants update the objective’s status.
Objective templates can be added to new or existing objectives through IRGs in the Plan Summary or new objectives on active incidents. Templates cannot be applied to objectives that already exist on incidents.
Note: Templates cannot be applied to objectives that already exist on incidents.
To create an objective template
Point to Settings and click Objective Templates. The Objective Templates page opens.
In the Objective templates for list, make sure the name of your facility is selected.
On the left, below the list of templates, click Add New Template. The new template opens on the right.
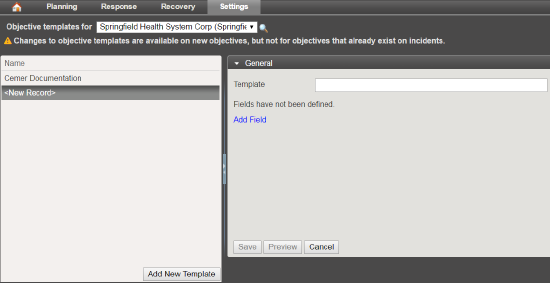
For Template, enter a name for the template.
Click Add Field. A field appears.
For Field, enter a name.
Click the field on the right, and in the list, select the type of field (Short text, Long text, Drop-down, Checkbox, or Checkbox group) you want to create. Depending on your selection, additional fields may appear.
If you create a field with options, enter the option name.
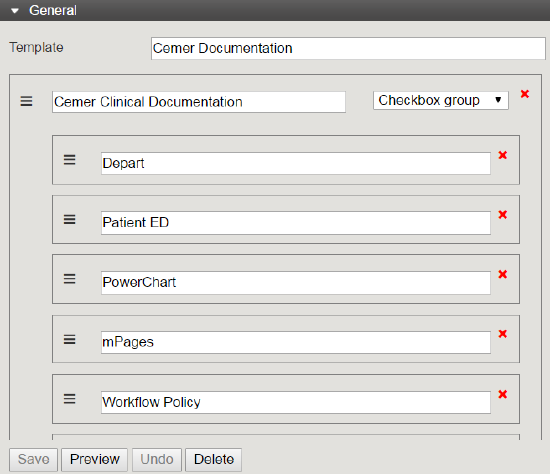
As necessary, click Add Option and enter the option name.
If you want to move or reorder fields, click the order icon on the left and drag the field to another position.
When you are done adding and ordering fields, click Preview. The template preview opens.
Verify that the template appears correctly, and click OK.
When you are satisfied with the template, click Save.