The standard notification channels include internal messages and emails. Other channels such as voice messages, text messages, and so on, can be set up as an upgrade.
When you create a notification, you can send it using one or more channels that are configured for your organization.
Note: The channels that are configured for your notifications appear on the New Notification page.
Notifications that you receive through WebEOC, by sending a message internally, appear in your WebEOC Inbox, or in a web or mobile application. Notifications that you send to other people are stored in your Sent folder. By default, messages are listed in chronological order with the most recent message at the top. Each sent notification contains detailed information about notification delivery statuses and recipient responses.
Drafts and templates folders allow you to store and reuse notifications that are not yet complete, or have been saved as a template.
To create and send a notification
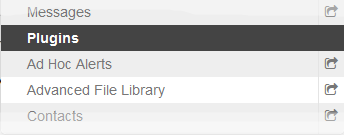
- In the Plugins section of the control panel menu, click Ad Hoc Alerts.
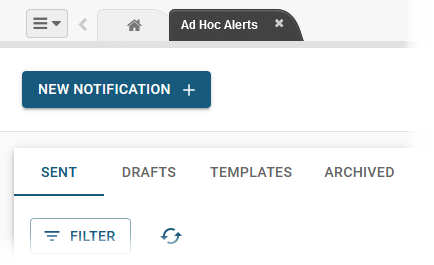
- In the Ad Hoc Alerts tab, click New Notification +.
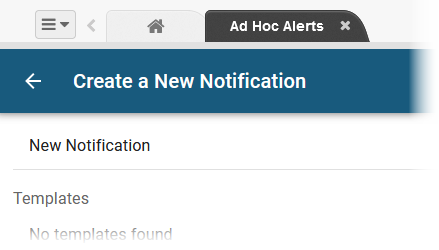
- In the Create a New Notification page, to compose a new notification, click New Notification, or select a template to use a notification that you have saved as a template.
In the New Notification page, complete the fields to compose the message and determine the message characteristics.
Field
Description
Valid Values or Example
Sender
Identifies who sent the notification.
- Myself
- Select Organization
Subject
The subject of the notification.
200 alphanumeric characters
Message type
The reason or purpose of the notification.
The message type appears in front of the subject to quickly indicate the purpose of the notification.
- Alert
- Advisory
- Exercise
- Test
Recipients
The intended recipients of the notification.
Tip: The number of recipients is displayed below the Recipients field. Click the link to view details.
Select from available individuals, positions, groups, and organization notification groups
External Recipient Options
Allows you to download a template and/or upload a list of external recipients via a comma-separated values (CSV) file.
- Download CSVTemplate
- Upload CSV
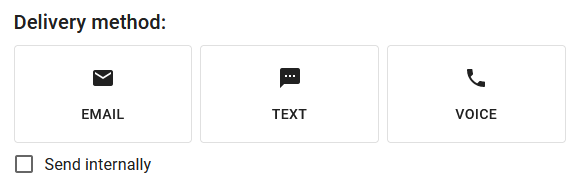
Delivery Methods
The channels you want to use to send the notification.
The standard notification channels include internal messages and emails. Other channels such as voice messages, text messages, and so on, can be set up as an upgrade.
Tip: To clear a selection, click the selection again.
Actual setup depends on your configuration but can include:
- Voice messages
- Text messages
- Others
Send this message internally
Sends the notification to the user’s WebEOC Inbox.
- Selected =Yes
- Not selected = No
Email
The contents of the email notification.
Note: Use the ${responseUrl} placeholder to insert a link that recipients can click to enter their response. If you do not insert the placeholder, the link is automatically added to the end of the notification.
2500 alphanumeric characters
Text/Voice
The contents of the text or voice notification.
2500 alphanumeric characters
Responses
Whether you want recipients to respond to the notification.
Select the checkbox to allow responses.
Response options
If you allow responses, add one or more options that the recipient can select for the response.
Click Add Response to add fields that you can populate.
100 alphanumeric characters
Available for response
The number of hours the recipient has to respond to the notification.
1 – 24
Voice follow-up options
Whether you want to send the notification to all delivery channels at the same time, or separately (for example, first send the email, next send the text message, and then send the voice message).
Number of times to call:
- Do not repeat
- 1
- 2
- 3
Time between calls:
- 1 minute
- 2 minutes
- 3 minutes
- 5 minutes
- 10 minutes
Send date & time
Whether you want to send the notification immediately, or specify a later date and time.
- Selected = Send immediately
- Not selected = Schedule for a later date and time
Delivery order
Whether you want to send the notification to all delivery channels at the same time or first email, then text, and then voice.
- Blast = Send to all delivery methods at the same time
- Escalation = Send to one delivery method at a time
- Click one of the three options:
- Template Options: Save as Template to save the notification for reuse. The template is stored in the Templates folder.
- Save as Draft to save the notification to your Drafts folder. In your Drafts folder, click the ellipsis to edit or delete the draft.
- Review and Send to test the notification by sending it to a recipient, and/or review the notification and send it. In your Sent folder, click the notification to view notification delivery statuses and recipient responses.