![]()
Depending on your role, you may be able to create and edit sub-resource types. Sub-Resource Types are groups of sub-resources that share a common characteristic and report some kind of status.
To create or edit a sub-resource type
In the main menu, click Setup and then click Resource Types. The Resource Types page opens.
Take one of these actions.
If you want to...
Then...
Create a sub-resource type,
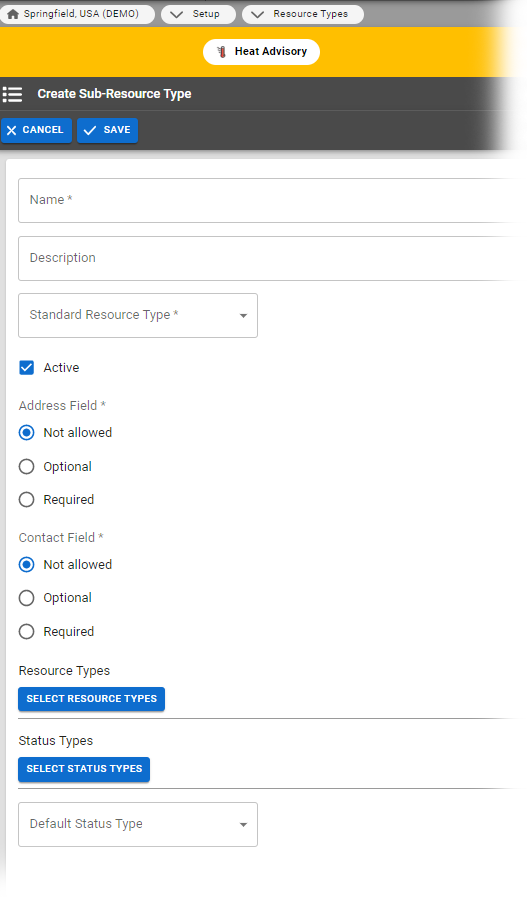
Click Create Sub-Resource Type. The Create Sub-Resource Type page opens.
Edit a sub-resource type,
Locate the sub-resource type and on that row, click the (sub-resource type) name. The View Sub-Resource Type: (sub-resource type) page opens.
Click Edit. The Edit Sub-Resource Type: (sub-resource type) page opens.
Enter or edit this information.
Field
Description
Name
Label or title of this sub-resource type.
Description Information that describes the sub-resource type. Standard Resource Type
Identifies the icon and category associated with this sub-resource type.
Status
When selected, indicates the sub-resource is Active and available for use.
Address
Indicates the relevance of an address for this sub-resource type. Options include:
- Required
- Optional
- Not Allowed
Contact
Indicates the relevance of contact information for this sub-resource type. Options include:
- Required
- Optional
- Not Allowed
Resource Types
Identifies the resource types associated with this sub-resource type. Sub-resources that belong to this sub-resource type can only be created for resources belonging to one of the selected resource types.
Status Types
Searchable list of status types that, when selected, indicate the type of status the resources with this resource type inherit and report.
Default Status Types Status and associated color that appear by default for this sub-resource type on custom and map views.
Click Save.