Sent notifications preserve details about the notification composition, and act as a repository for message and response data. Sent notifications can be reviewed, filtered, followed up, and exported.
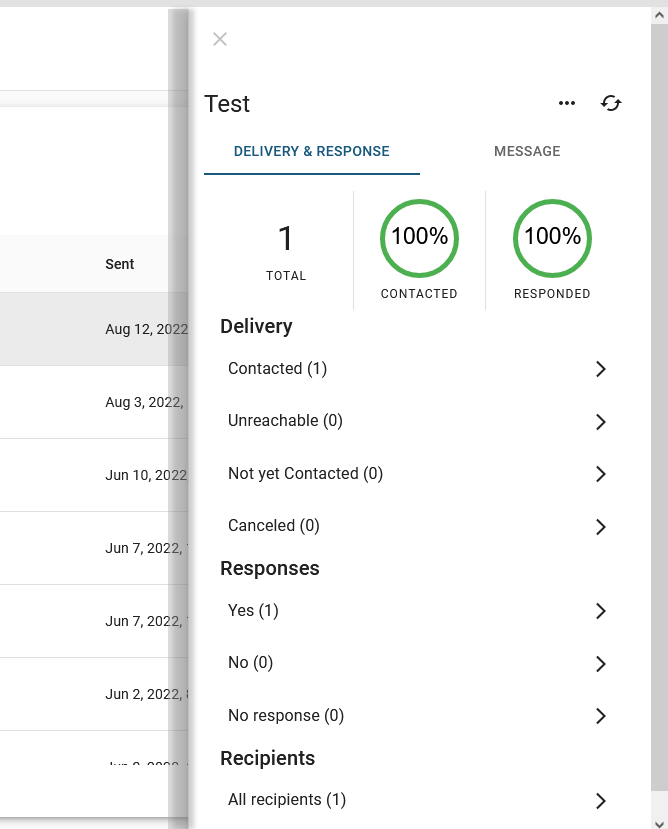
On the Sent page, select a message to view its details. A panel opens with two main sections, Delivery & Response and Message.
- The Delivery & Response tab provides dynamic information about the notification. It also allows you to view and filter results by individual recipients and quickly draft a follow-up notification.
- The Message tab provides mostly static information about the notification, including the name of the sender, message type, subject, recipients, email message, responses, and delivery order.
On the upper right of the panel, you can use the refresh icon to retrieve the most recent data and information. Likewise, the ellipsis icon allows you to stop the notification from being sent further or generate reports.
To manage sent notifications
- In the Ad Hoc Alerts plugin, click Sent. The Sent page opens.
- Click the notification. The sent notification panel opens.
- Perform any of the following actions:
If you want to… | Then… |
View the notification message | Click the Message tab. |
Stop further deliveries of the notification |
|
Generate the Notification Summary report | On the upper right, click the ellipsis icon and, in the menu, click Notification Summary PDF. The report downloads according to your browser settings. |
Generate the Delivery and Response report | On the upper right, click the ellipsis icon and, in the menu, click Delivery and Response CSV. The report downloads according to your browser settings. |
Refresh the delivery and response statistics | On the upper right, click the refresh icon. |
Send a follow-up notification |
|
Archive a notification | On the upper right, click the ellipsis icon and, in the menu, click Archive. The notification moves to the Archive tab. Note: You can also perform this action directly on the Sent tab. Click the ellipsis icon on the notification row, and then select Archive. |