![]()
Shapes are useful to highlight specific locations or areas on a map/image. Shapes are particularly useful to show areas that have been affected by an incident. With MapTac, users can draw, re-size, and place an ellipse, polygon, or line anywhere on a map/image. Additionally, shapes can be highlighted with one of three transparent colors: red, green, or blue.
Note: Users that have read-only permissions cannot add shapes to a map/image.
To draw a shape on the image
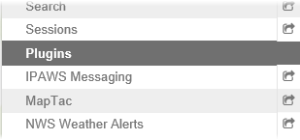
In the Plugins section of the control panel menu, click MapTac.
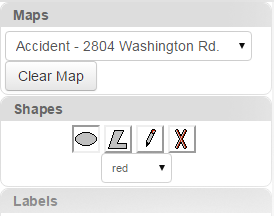
From MapTac, on the left side panel, click the Shapes tab. The shapes palette opens.
Click the applicable shape button that aligns with the type of shape you want to add.
From the drop-down list, select the appropriate color for the shape.
To place the shape on the image
Note: To select shapes, you must have compatibility view turned on in your browser.
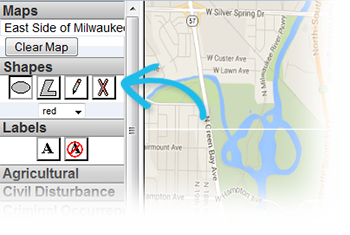
Continuing from step 4 of the procedure above, left-click the image where you want to place the shape.
To create the shape, move the mouse cursor across the image.
Left-click the mouse again to place the shape on the image.
To delete a shape from the image
From the image, right-click the shape you want to delete.
When the confirmation window opens, click OK.
You can also delete the shape by clicking the delete icon in the shapes palette and then clicking the shape you want to delete.
Alternatively, to clear all shapes, markers, and labels from a map/image, click the Clear Map button.