You can manage your organization (either the default WebEOC organization, or your specific organization) in the Contacts plugin.
To manage an organization
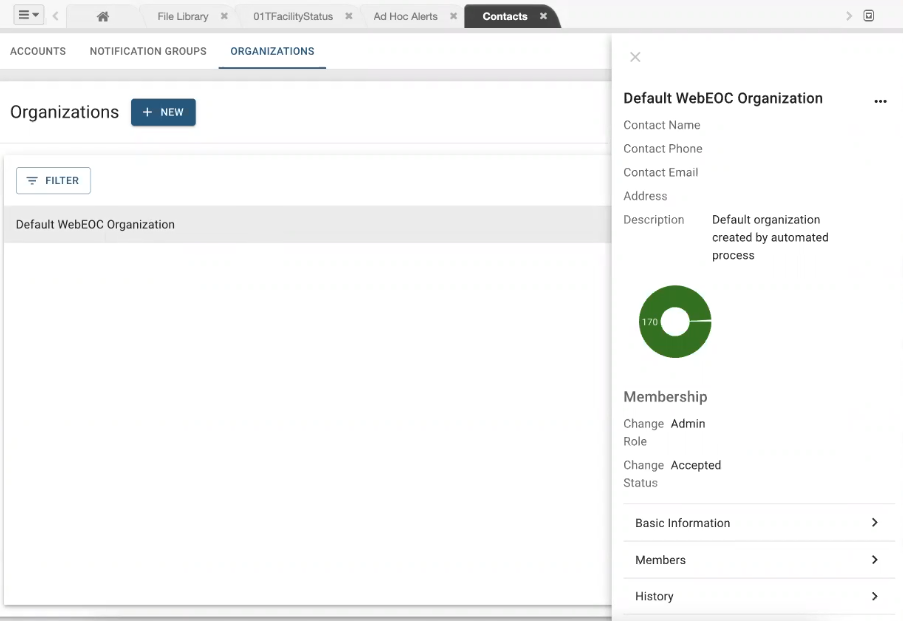
- In the Contacts plugin, click the Organizations tab.
- Select Default WebEOC Organization, or the specific organization that you created. The panel opens.
Perform any of these actions:
If you want to…
Then…
View the past updates
Click History.
Note: You cannot modify this information.
View or change group details
- Click Basic Information.
- Modify the fields, as needed.
- Click Save.
Change an account’s permissions/role
- Click Members.
- Search for the account.
- Select the current organization role, and/or use search to locate the account.
- In the account row, under the Role column, select the new role from the drop-down list. For more information about roles, see About WebEOC Organizations.
Move a group
Modify the hierarchy order of sub-organization groups on the Organization page (not in the panel).
- On the Organizations page, click the ellipsis at the end of the row containing the sub-organization you want to move.
- From the menu, select Move.
- On the Select Organization page, expand the Root menu.
- Select the new organization under which the sub-organization will be located.
- Click Select. The sub-organization moves to the new organization.
Add a member
Remove an account from group members
- Click Members.
- Select the account you want to remove.
- Click …More.
- Click Remove Accounts.
- Click Remove to confirm the action. The account is removed.