![]()
Replying to a message does not send original attachments with the reply. You can, however, attach other documents in your reply message.
Forwarding gives you an option to send the original attachment or send a different one.
As the sender, you must have an email address set up in WebEOC. However, you do not need to enter email addresses for recipients who have an email set up in WebEOC.
For recipients who do not have email address setup in WebEOC, you can enter one or more email addresses in the Additional Addresses field; this field appears after selecting Generate Email. You can enter an unlimited number of addresses as long as email addresses are separated by a comma.
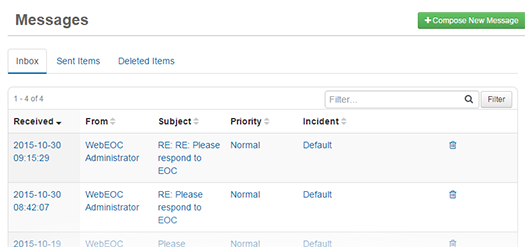
To reply to or forward a message
On the Messages page, click the message you want to reply to and/or forward.
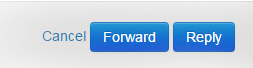
On the Message Detail page, click the Reply or Forward button.
On the Compose New Message page, click the tab corresponding to the section that includes the individuals you want to send the message to: Users, Positions, or Groups.
Note: The option to add users, positions, and groups is controlled by your administrator. Therefore, you may be restricted to adding users only, positions only, groups only, or any combination thereof.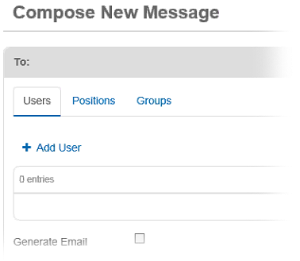
Below the tab you selected, click the Add link.
In the Add window, select the check box for each applicable user, position, or group.
Note: To search for a specific user, position, or group, enter search terms in the Filter field. To select all options for the window, select the check box to the left of the Name heading.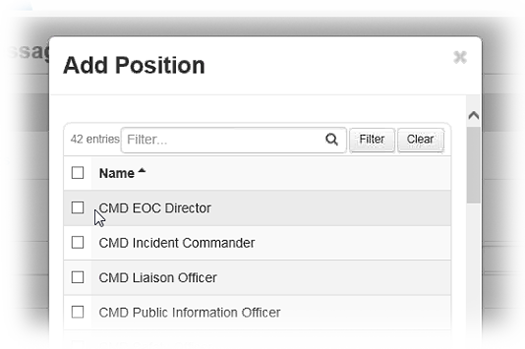
Repeat steps 3-5 for each tab as applicable.
Note: You can select as many recipients as applicable and permissible by your administrator. If you select to send the message to a specific user who also happens to be a member of a position or group you selected, the individual only receives one message.In the Priority and Subject section, select the priority of the message.
Tip: Messages marked High priority appear red, Normal appear black, and Low appear green.Enter the subject.
If working in a Master view, open the Incident list and click the appropriate incident.
Above the original message, in the Message text box, enter your message.
To add an attachment, click Choose File.
Note: You can add one attachment to a message. To send more than one file, save the items to a zipped file and attach the compressed file to the message.To send the message as an email, select the Generate Email check box. An Additional Addresses field appears.
For recipients who do not have email address setup in WebEOC, enter the email addresses in the Additional Addresses field.
Note: The Generate Email is not available if you do not have an email account set up in WebEOC or your administrator has not configured email capability.
Click Send.