You can create three types of groups:
- Standard: See About Notification Groups.
- Filter based: See About Notification Groups.
- Organizations: See About WebEOC Organizations.
This procedure details standard and filter-based groups. For organizations, see Define an Organization.
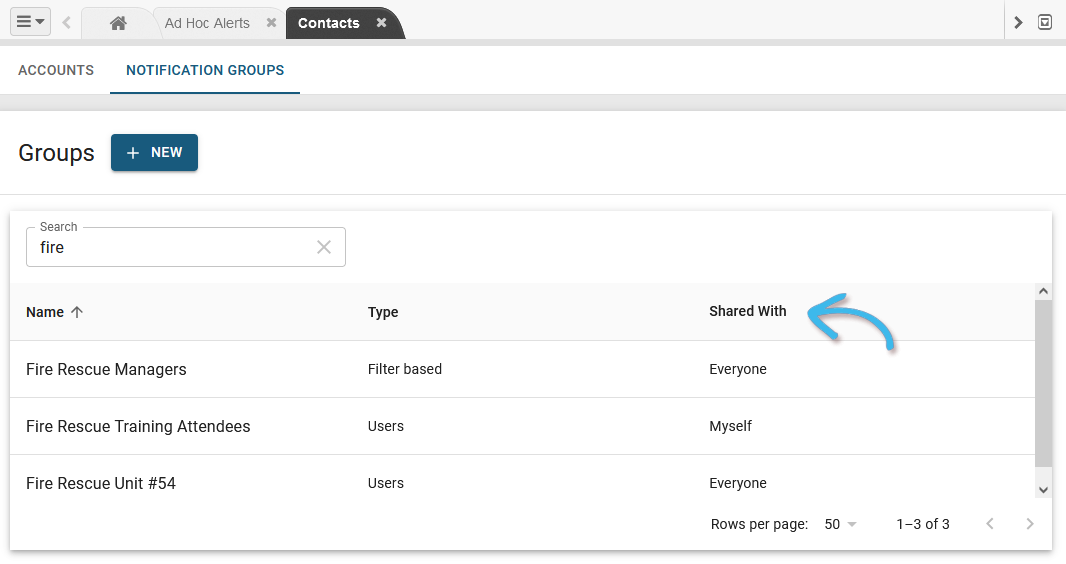
Tip: In the Contacts plugin, group types are identified in the Notification Groups tab, in the Type column.
To create a group
- In the Contacts plugin, select Notification Groups.
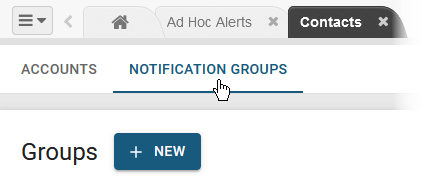
- Click + New.
- In the New Group window, enter a Name and Description for the group.
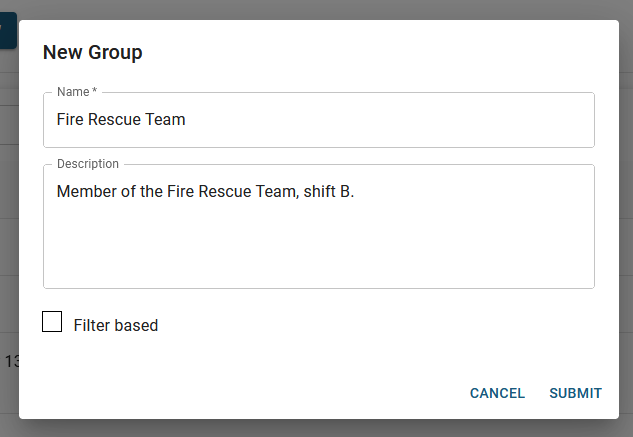
- If you want to create a filter-based group, select the Filter based checkbox; otherwise, skip this step.
- Click Submit. The new group is created and appears in the Notification Groups tab. The next step is to add accounts to the group. See Add Members to a Standard Group and Manage Members of a Filter-Based Group.
| Panel | ||||||||
|---|---|---|---|---|---|---|---|---|
| ||||||||