Contacts can be added individually or in bulk (using the Contact Template and Report).
This article details how to add an individual contact. When you do this, you may find that they are already in the solution. In that case, you need to search for the contact and add the facility and role specifications to their existing profile.
Tip: If you want the contact to have access to eICS, you must enable their account by providing a login email. Then, the person must activate their account. For more information, go to Activate Your Account.
To add a new contact
On the Home page, point to the Planning menu and click Contacts. The Contacts for page opens.
In the Contacts for list, click the name of the facility. Contacts for the selected facility appear below.
Below the contacts, click Add New Contact. The Add New Contact, Details opens on the right.
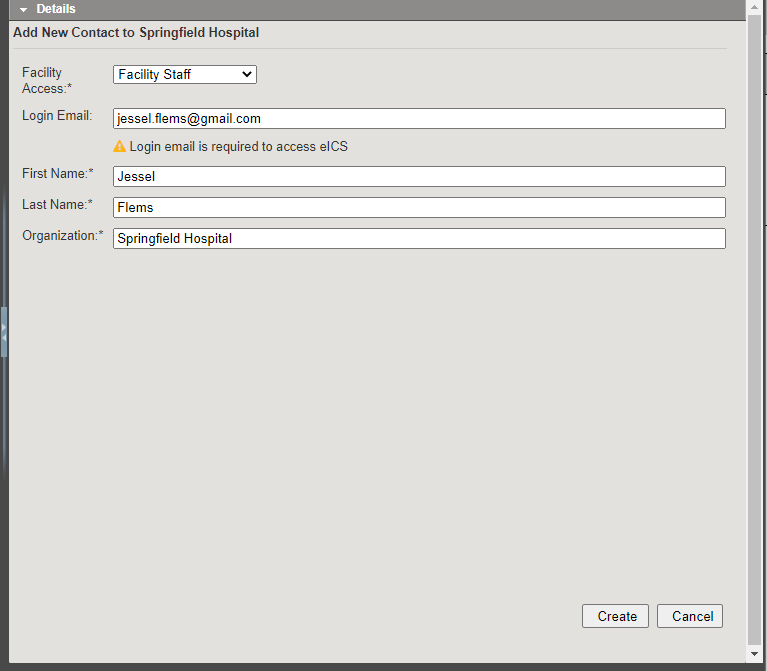
- In the Facility Access list, click the level of access you want to grant this contact.
- If you want the contact to have access to eICS, you must enter their Login Email.
Note:
If the solution indicates the email is already in use, please click OK, cancel the Add New Contact, and on the lower left, search to locate the contact. Take one of these actions.- If you locate the contact, on the Account Information / Log In tab, add the facility and access level.
- If you are unable to locate the contact, go back to the Add New Contact page and attempt to Import the Contact.
- If you are still unable to locate or add the contact, contact the Juvare Support Center.
Enter the contact's First Name, Last Name, and Organization.
Click Create. The contact appears in the list on the left and the contact details refresh on the right.
On the right, click to open drawers and add or change additional information.
Tip: You can add notes about the contact and changes you made to the contact's information in the Notes drawer.