You can manage the notifications that you receive in the WebEOC Inbox. Actions that you can perform include viewing notifications, responding to notifications (polls), forwarding notifications, and archiving notifications.
To manage the WebEOC Inbox
- To open the WebEOC Inbox, click the Inbox icon.

- In the Inbox, perform any of these actions:
If you want to… | Then… |
View a new notification | New notifications are indicated by a red number displayed on the Inbox icon In the Active tab, click the notification that appears in a bold font. The message details appear in the right panel. Tip: If the Inbox is open and you do not see the notification, click the refresh icon |
Mark all notifications as read |
Note: The Active tab and the Archive tab operate independently for this feature. That is, if you want to mark all notifications as read in both tabs, perform this procedure in each tab. |
Reply to a notification | Replying to a notification involves either of the following actions:
Note: You cannot reply directly to a notification. |
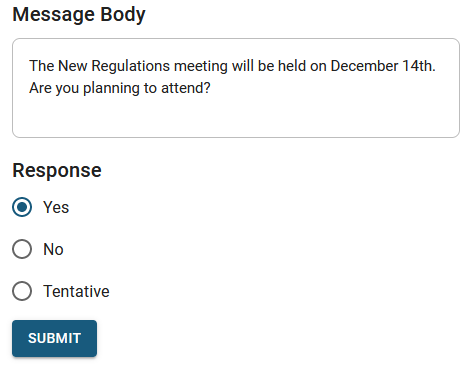
Respond to a notification poll |
|
Forward a notification | Note: You can only forward notifications from the Active tab. To forward a notification from the Archive tab, move the notification to the Archive tab. See Move an archived notification back to the Archive tab.
|
Archive a notification | You cannot delete notifications; however, you can archive them. Archived notifications are saved indefinitely.
Tip: If you do not see the notification, click the refresh icon |
Move an archived notification back to the Active tab |
|